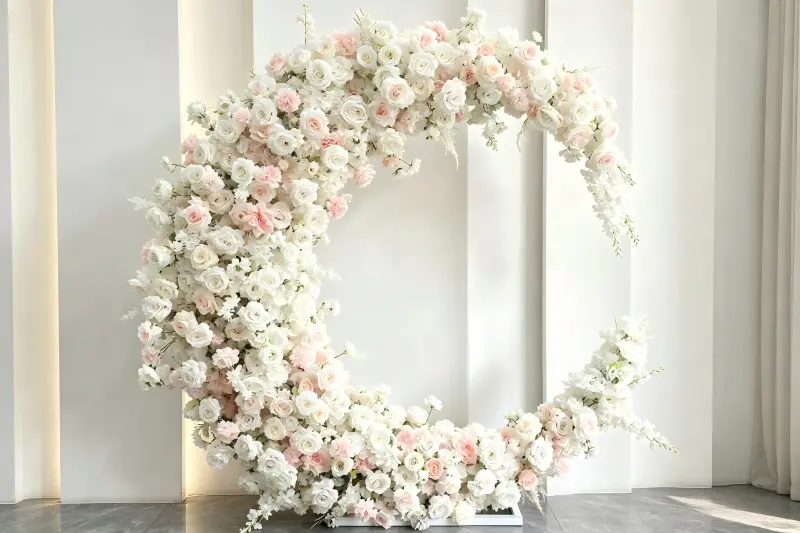
Moon gate arches are stunning — but only if they're installed correctly. A wobbly moon gate looks unprofessional, and a falling one is a safety hazard. The good news: with the right technique, you can set up a perfect moon gate in under 15 minutes.
Whether you're a rental business owner, event planner, or wedding coordinator, this step-by-step guide will walk you through everything you need to know to install a moon gate flower arch safely, quickly, and professionally.
We'll cover tools, step-by-step assembly, different installation scenarios, pro tips for speed, and proper teardown. By the end, you'll be setting up moon gates like a pro.
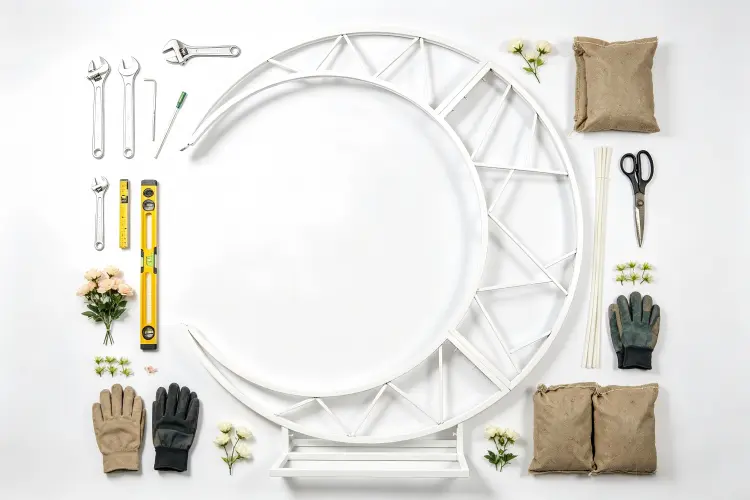
Tools You'll Need
Before you start, gather these tools. Most come with the arch itself, but it's good to have extras on hand for every event.
- Wrench or Allen key (usually included)
- Spirit level
- Measuring tape
- Zip ties (20+ extras)
- Scissors or wire cutters
- Sandbags or base weights (2-4)
- Step ladder (for 7ft+ arches)
- Work gloves
- Spare flower heads (5-10% extra)
- Duct tape (emergency fixes)
6-Step Installation Process
Prepare the Site & Lay Out Parts
Choose your location and measure the space. Clear the area of any debris or tripping hazards. Lay out all frame sections and flower panels on the ground in the order you'll need them. This prevents scrambling for parts mid-assembly.
Pro tip: Mark the center point on the floor with tape — this is your reference for centering the arch perfectly.
Assemble the Base Sections
Start with the two bottom base sections. Connect them to the base plates or feet using the provided screws or snap locks. Make sure both bases are on level ground — this is the foundation for the entire arch. If the ground is uneven, use shims or adjust the base height.
Pro tip: Place sandbags on the base plates right away — the added weight makes the next steps much easier and safer.
Connect the Curved Frame Sections
Working from the bottom up on both sides, connect the curved frame pieces one by one. Each section should click or screw into place securely. Have one person hold the frame while the other connects the sections — this prevents the arch from tipping as it gets taller.
Pro tip: Don't fully tighten screws until all sections are connected. Leave them slightly loose so you can adjust alignment, then tighten everything at the end.
Connect the Top & Level the Arch
Connect the final top section to complete the circle. Now check that the arch is level and plumb (vertical). Use your spirit level on both sides and the top. Adjust the base positions or tighten/loosen connections until everything is perfectly straight. Then tighten all screws fully.
Pro tip: Step back 10-15 feet and look at the arch from a distance. Your eye can catch alignment issues that a level might miss — especially if the ground isn't perfectly level.
Attach the Flower Panels
Starting from the bottom on both sides, attach the flower panels to the frame. Most panels use zip ties, clips, or Velcro straps. Work your way up both sides evenly, meeting at the top. Make sure flowers are facing outward and there are no gaps between panels. Fluff and adjust petals as you go.
Pro tip: Attach panels slightly overlapping each other — this hides the frame and creates a seamless, full look. Overlap by 1-2 inches per panel.
Final Check & Secure
Do a final walk-around. Check that all connections are tight, all flower panels are secure, and the arch is stable. Give it a gentle shake — it shouldn't wobble much. Add extra sandbags or weights if needed. Touch up any flattened petals or loose flowers. Take photos for your portfolio!
Pro tip: For outdoor events, always add at least 2 sandbags per side (4 total). Wind is the #1 enemy of moon gates — better safe than sorry.

4 Installation Scenarios
Different venues require different setup approaches. Here's how to handle the most common scenarios:
The easiest setup. Place the arch on the floor, level it, and add sandbags on the base plates for stability. Use non-slip pads under the bases if the floor is slippery (polished concrete, marble, tile). No special anchoring needed for indoor use — sandbags provide enough weight.
Use ground stakes or auger anchors through the base plate holes for maximum stability. If stakes aren't possible, use heavy sandbags (25lbs+ per side). Check that the ground is level — you may need to dig small indentations or use leveling blocks. Always position with the open side away from prevailing wind.
Make sure the stage can support the weight (most can, but double-check). Use sandbags or heavy-duty weights on the bases. Consider tying the arch top to the stage backdrop truss or ceiling for extra security. Watch your head — stages make everything taller!
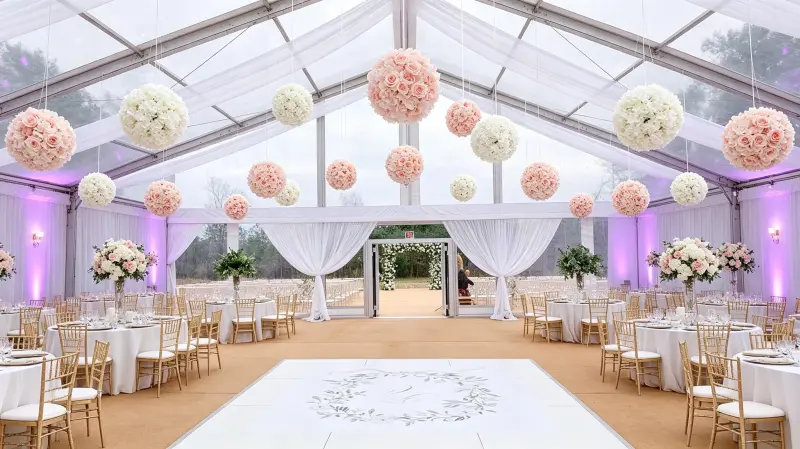
Similar to indoor setup, but watch for tent poles and guy lines that might interfere. Use sandbags on the bases. If the tent has a center pole or crossbars, you can tie the arch top to the tent structure for extra stability. Be careful with tent stakes — don't drive them through tent flooring.
6 Pro Installation Tips
- Pre-assemble off-site: If you have transport space, pre-connect the frame into 2-3 large sections instead of 6 small ones. This cuts on-site setup time in half.
- Mark your bases: Put tape marks on the floor showing exactly where the bases go. Measure once, mark it, then you don't have to keep checking alignment.
- Two-person system: Person A holds and stabilizes, Person B connects and adjusts. This is way faster than both people trying to do everything. Switch roles if you're setting up multiple arches.
- Start flowers from the bottom: Always attach flower panels starting from the base and working up. This way, gravity helps hide the connection points — upper panels overlap lower ones naturally.
- Bring spare everything: Extra zip ties, extra flower heads, extra screws. The one thing you don't bring is the one thing you'll need. A small parts bag takes 2 minutes to pack and saves hours of stress.
- Test the wobble: After setup, give the arch a firm shake at shoulder height. If it moves more than an inch or two, add more weight or check the base connections. Better to find out during setup than during the event.
Teardown & Storage Guide
Proper teardown is just as important as setup — it determines how long your moon gate lasts and how easy the next setup is.
Step 1: Remove flower panels first. Start from the top and work down. Be gentle — don't yank panels off or you'll pull flowers loose. Lay panels flat or roll them loosely as you remove them.
Step 2: Disassemble the frame. Take apart the top section first, then work down both sides. Keep all screws and small parts in a bag so you don't lose them. Wipe down frame sections with a dry cloth if they're dirty.
Step 3: Inspect and touch up. Check each panel for loose flowers, damaged petals, or stains. Fix anything you can on the spot — loose flowers get looser in transport. Note any damage that needs repair before the next rental.
Step 4: Pack carefully. Use the original packaging if you have it. Frame sections go in their own bag or wrap. Flower panels should be stored flat or rolled loosely — never folded, and never stack heavy things on top of them.
Step 5: Store properly. Store upright or flat in a cool, dry area. Avoid direct sunlight (fades colors) and humidity (promotes mold). Budget about 4 sq ft of floor space per 7.5ft moon gate for storage.
FAQ: Common Questions
Ready for Moon Gates That Set Up Fast & Last Long?
Our commercial-grade moon gate arches feature tool-less snap assembly, reinforced frame connections, and dense flower coverage. Built for 30-50+ rentals with minimal maintenance.
Shop Moon Gate Arches