Introduction
Setting up an artificial flower wall doesn't have to be complicated or time-consuming. For rental companies, speed and reliability are everything — you're often working against event timelines, venue restrictions, and tight changeover windows.
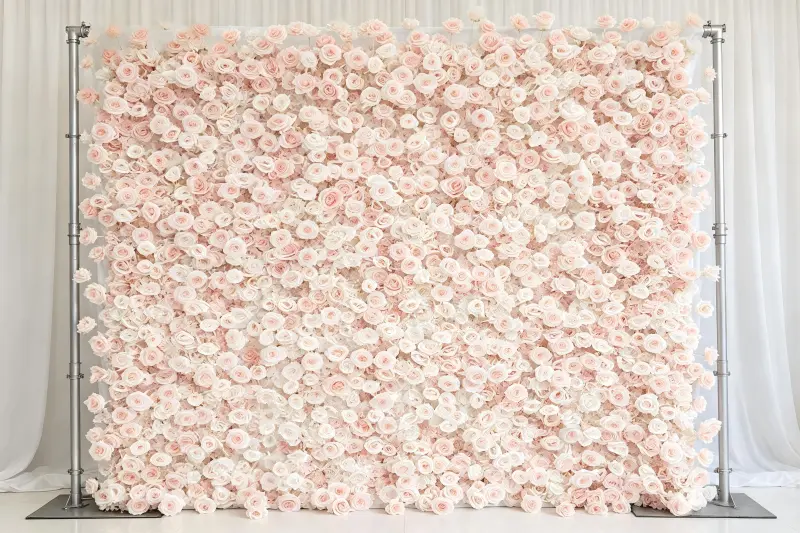
This guide covers the standard fabric-backed flower wall panels that most rental businesses use — the roll-up type that ships in long strips and assembles on-site. We'll walk through the complete process from unboxing to teardown, with pro tips to cut your setup time in half.
Tools & Materials You'll Need
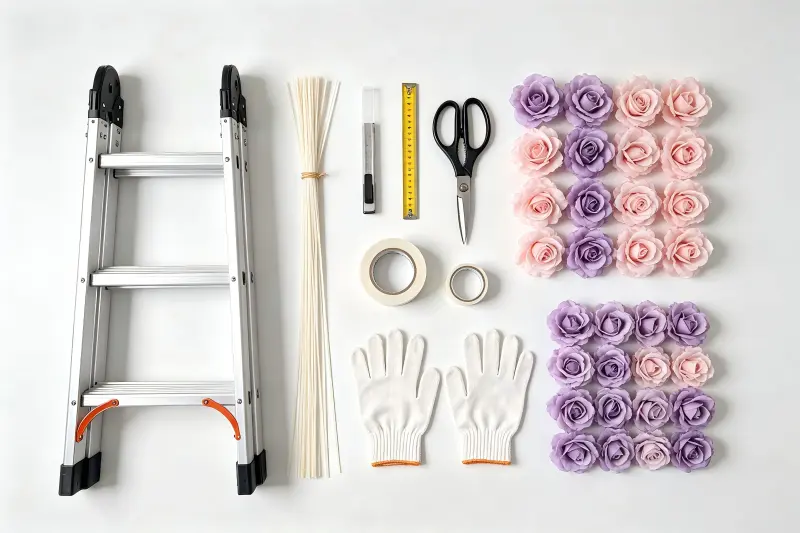
Most fabric-backed flower walls require minimal tools. Here's what every setup team should carry:
- Step ladder — 6ft or 8ft depending on wall height
- Measuring tape — for centering and alignment
- Zip ties / cable ties — securing panels to frames or pipes
- Heavy-duty adhesive tape — gaffer tape or double-sided for smooth surfaces
- Scissors / wire cutters — trimming ties and adjusting flower placement
- Level — ensuring the wall is perfectly straight
- Extra flower heads — 5-10% spares for filling gaps or replacing damaged blooms
- Gloves — to protect hands from wire stems during adjustments
Step 1: Prepare Your Mounting Surface
Before you unroll any panels, make sure your mounting surface is ready. For most event setups, this means a backdrop stand, pipe-and-drape system, or existing wall. Ensure the structure is stable and can support the weight — a full 8×8 ft flower wall weighs 15-25 lbs.
Pro tip: If using a backdrop stand, weigh down the base with sandbags. A wobbly stand is the #1 cause of crooked flower walls.
Step 2: Unroll and Position the First Panel
Start with the leftmost panel (or center panel for symmetrical designs). Unroll it carefully — fabric-backed panels roll up like carpets, so they'll naturally want to curl. Hold the top edge against your mounting point and let the panel hang down naturally.
Use the sleeve or pocket at the top of the panel to slide onto a horizontal rod or pipe. If your panel doesn't have a sleeve, you can attach the top edge with zip ties through the fabric backing.
Step 3: Secure the Top Edge
Once the panel is positioned at the correct height, secure the top edge every 12-18 inches. Use zip ties through the fabric backing and around your support rod or pipe. Don't pull too tight — you want the panel flat but not stretched.
Check with a level before moving on. A slight tilt at the top becomes a big gap at the bottom when you add more panels.
Step 4: Add Adjacent Panels
Roll out the next panel and position it next to the first one. The key here is getting the seam right — you want the flowers from both panels to interlock so the seam becomes invisible.
Overlap slightly (about 1-2 inches) and gently fluff the flowers at the seam to blend them together. Secure the top of the second panel the same way as the first. Work your way across until all panels are hung.
Step 5: Secure the Bottom and Sides
With all panels hung and the top edges secured, work your way down the sides and bottom. For pipe-and-drape setups, attach side edges to vertical poles with zip ties every 12 inches.
For the bottom, you can either let it hang naturally (most fabric-backed panels are heavy enough to stay straight) or secure it to a bottom rod or the floor with tape. The goal is a taut, wrinkle-free surface.
Step 6: Blend and Touch Up
Step back and look at the wall from a distance. Check for: visible seams, bare spots, crushed flowers, and uneven alignment. Use your spare flower heads to fill any gaps — just glue or wire them into place.
Fluff and adjust the flowers along the seams. This is the step that turns a "good" flower wall into a "wow" flower wall. Spend 5-10 minutes on touch-ups — it makes a huge difference in photos.
Pipe & Drape (Most Common)
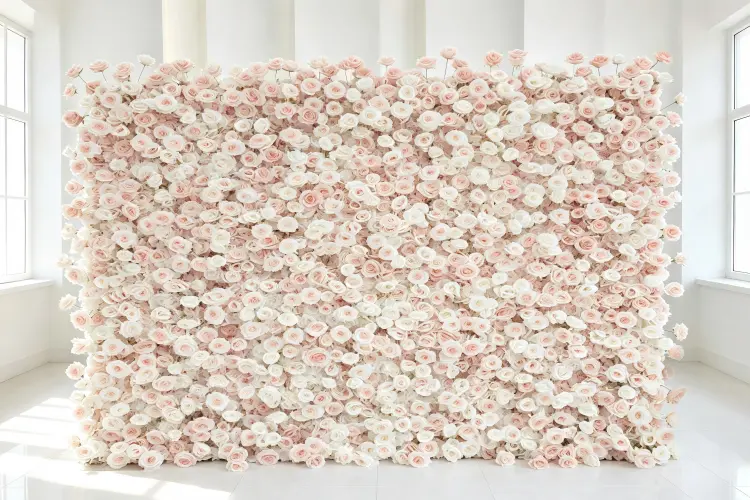
The easiest and most common setup method. Slide panel sleeves onto the horizontal crossbar, secure with zip ties, and you're done. Works for both upright stands and ceiling-suspended rigs.
Wall Mount (Indoor)
For permanent or semi-permanent installs, use Command hooks, adhesive strips, or screw-in wall hooks. Always test a small area first — some venue walls have delicate paint or wallpaper. Distribute weight across multiple hooks (one every 1-2 feet).
Tent / Outdoor
Use tent poles or a freestanding frame. Secure both top and bottom — wind is your biggest enemy outdoors. Add weight bags to the base and consider guy lines for tall walls. Never install a flower wall outdoors if wind exceeds 15 mph.
Ceiling Suspended
For grand entrances and stage backdrops, suspend panels from ceiling rigging points. Use aircraft cable or heavy-duty fishing line. Ensure the ceiling structure can support the weight — always check with the venue's engineering team first.
Pro Tips for Faster Setup
- Pre-assemble off-site — if you have the same wall for multiple events, leave panels connected and roll them up as one big piece. Saves 50% of setup time.
- Mark your poles — use tape marks on your backdrop stand poles so you always hang at the same height. No more measuring every time.
- Two-person team — one person on the ladder, one person guiding from below. Cuts setup time by 40% vs. working alone.
- Start from center — for symmetrical designs, hang the center panel first and work outward. Easier to keep everything centered.
- Bring a step stool — most adjustments happen at eye level, not at the top. A small stool saves ladder-climbing time.
- Use a grid system — for custom designs or logo walls, mark a grid on the backing with chalk before hanging panels.
Teardown & Storage
Taking down a flower wall is the reverse of setup, with a few important differences:
- Start from the bottom — release bottom attachments first, then work up. This prevents the panel from falling unexpectedly.
- Roll, don't fold — always roll panels flower-side-out. Folding creates permanent creases in the fabric backing and crushes flowers.
- Use the original bag — each panel should have its own storage bag or tube. This protects flowers from dust and crushing between events.
- Inspect and repair — while rolling, check for loose flowers or damaged backing. Fix issues immediately so the wall is ready for the next booking.
- Store upright — stand rolled panels on end in a cool, dry area. Never stack heavy items on top of flower wall rolls.
Common Questions
Need Commercial-Grade Flower Walls for Your Rental Business?
Our fabric-backed flower wall panels are designed for fast, repeatable installation — built-in top sleeves, dense edge coverage for seamless joins, and roll-up storage. Standard sizes ship in 3-5 days. Custom colors and sizes available with MOQ starting at 10 panels.
Get Wholesale Pricing