Why Proper Installation Matters
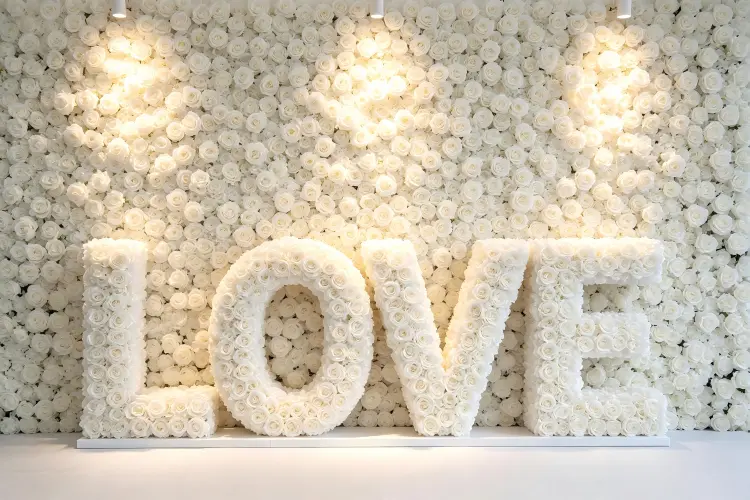
Flower signs are showstopper pieces — they're often the focal point of a ceremony, entrance, or photo wall. But a poorly installed flower sign can look crooked, feel unstable, or even fall over — and that's the last thing you want at a client's event.
This guide covers every installation method for flower letter signs, from freestanding displays to wall mounts, with step-by-step instructions and pro tips. Whether you're a rental business owner setting up for an event or a venue manager adding permanent decor, you'll find the right method here.
Tools & Supplies You'll Need
Essential Installation Kit
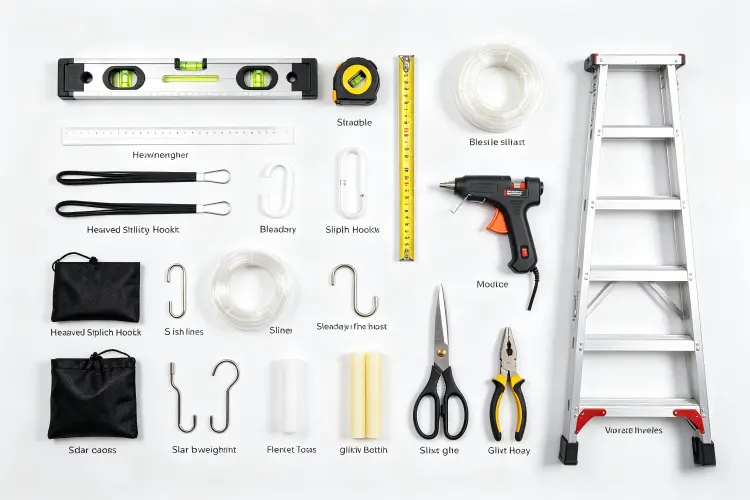
Every flower sign setup should include these basics:
- Level (6-inch torpedo level): For ensuring the sign is perfectly straight — crooked signs look amateurish
- Measuring tape: For centering the sign and measuring height
- Zip ties (black and white): For securing signs to frames, easels, and backdrops
- Command strips (heavy-duty): For damage-free wall mounting on smooth surfaces
- Fishing line (30 lb test): For hanging signs from ceilings and beams — nearly invisible
- S-hooks: For hanging from pipes, beams, and backdrop stands
- Sandbags or weights: For stabilizing freestanding signs outdoors
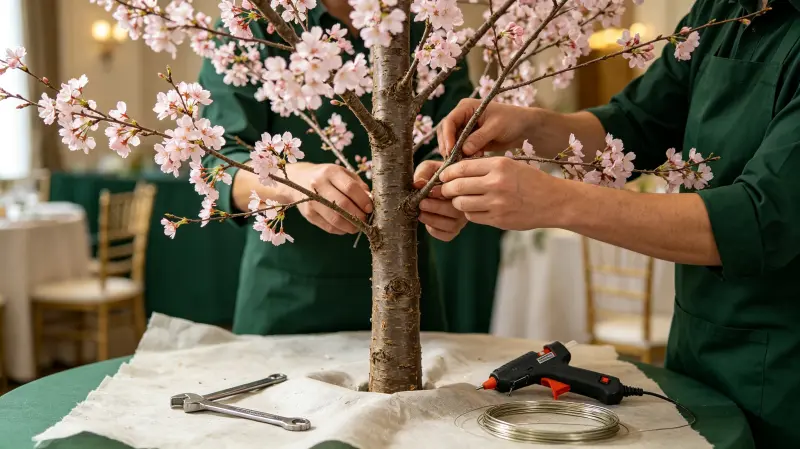
- Hot glue gun + spare glue sticks: For on-site flower repairs
- Scissors / wire cutters: For trimming zip ties and fishing line
- Step ladder (4-6 ft): For reaching higher mounting points
5 Installation Methods
1. Freestanding / Floor Standing
Best for: Large 5ft+ letter signs, entrance areas, ceremony backdrops, photo walls
What you need: Sign with built-in base, sandbags (optional, for stability)
How to install:
- Choose a flat, level surface — avoid uneven ground or carpet edges
- Position the sign where you want it, then step back to check the overall placement
- Use a level to make sure the sign is standing straight — adjust the base feet if needed
- For outdoor use or high-traffic areas, place sandbags behind the base for extra stability (hide them with fabric or greenery)
- Step back again from across the room to verify it looks right from guest eye level
Pro tip: For events with kids or crowded spaces, always secure freestanding signs with additional weights. Better safe than sorry.
2. Wall Mounted
Best for: Medium to large signs, permanent venue installations, lounge areas
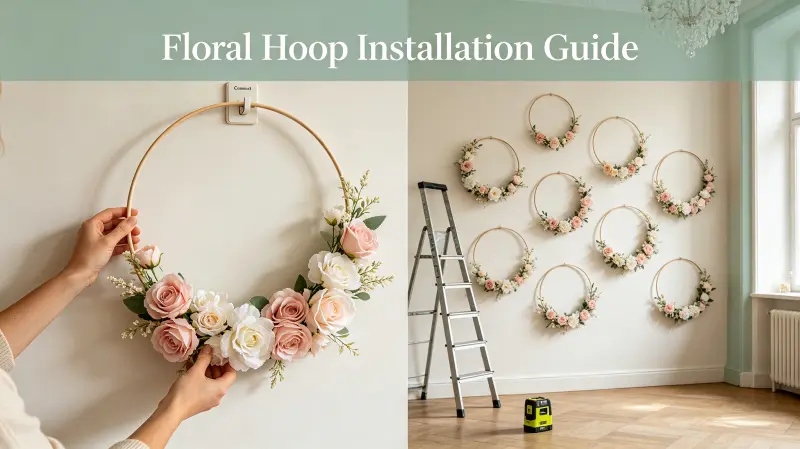
What you need: Wall hooks, Command strips (for rental), drill + screws (for permanent), level, measuring tape
How to install:
- Measure and mark the desired height — eye level (60-66 inches from floor to center) works best for viewing
- Use a level to make sure your marks are perfectly horizontal
- For temporary/rental use: Apply heavy-duty Command strips to the back of the sign, press firmly against the wall for 30 seconds, and wait 1 hour before hanging anything on it
- For permanent installation: Drill pilot holes, insert wall anchors, and screw in hooks or brackets
- Hang the sign and double-check with a level
- Adjust as needed, then step back to admire your work
Important: Always check with the venue before using adhesive or drilling. Many venues have strict policies about wall damage.
3. Easel / Stand Mounted
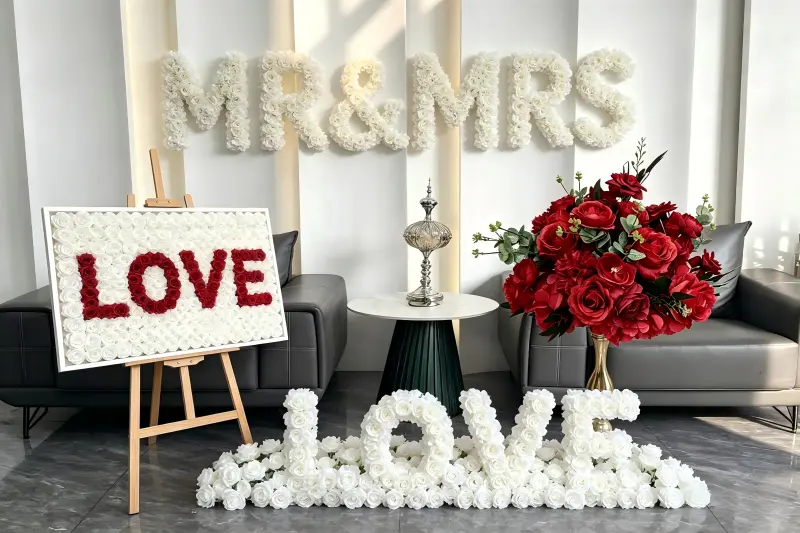
Best for: Medium signs (2-4ft), welcome areas, seating chart displays, entrance signage
What you need: Easel (wooden or metal), zip ties, level
How to install:
- Set up the easel and adjust the height to your desired display level
- Place the sign on the easel ledge and center it
- Secure the top of the sign to the easel with 2-3 zip ties — one on each side and one in the middle
- Tighten the zip ties just enough to hold the sign firmly — don't over-tighten or you might damage the flowers
- Trim the zip tie ends so they're not visible from the front
- Use a level to make sure the sign is straight
- Step back and check the overall look — adjust the easel angle if needed
Pro tip: Match the easel color to your event theme — white easels for modern weddings, natural wood for bohemian, black for industrial.
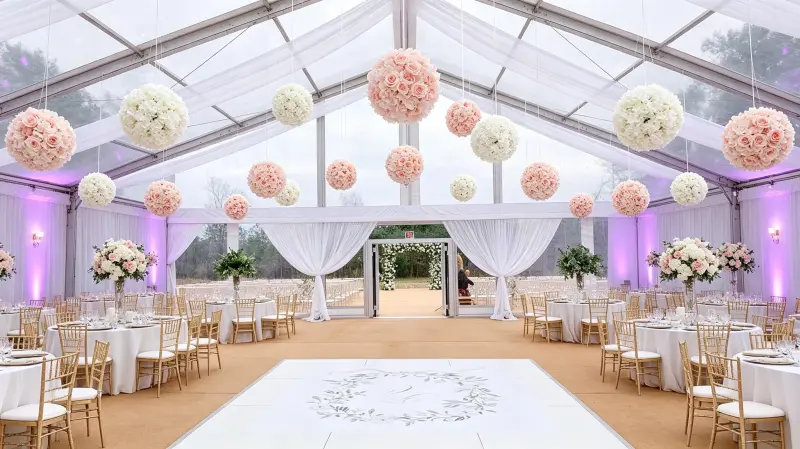
4. Hanging / Suspended
Best for: Medium to large signs, ceiling installations, above dance floors, grand entrances
What you need: Fishing line or clear cord, S-hooks or carabiners, ladder, level
How to install:
- Identify your hanging points — ceiling beams, pipes, backdrop stands, or tent poles work best
- Cut 2-3 pieces of fishing line to equal length (measure twice!)
- Attach one end of each line to the sign's hanging points — most signs have D-rings or hooks on the back
- Attach the other ends to your hanging points using S-hooks or knots
- Adjust the length until the sign is at the perfect height and perfectly level
- Double-check that all connections are secure — give the sign a gentle tug to test
- Step back and make sure the sign looks centered and straight from all angles
Safety note: For signs over 10 lbs, use multiple hanging points and heavy-duty line. Never hang heavy signs over guest seating areas without professional rigging.
5. Backdrop Integrated
Best for: Any size sign, photo walls, ceremony backdrops, flower wall combinations
What you need: Backdrop stand or pipe & drape, zip ties, fishing line
How to install:
- Set up your backdrop stand or pipe & drape system
- Hang your backdrop fabric or flower wall panels first
- Position the sign where you want it on the backdrop — usually centered, about 2/3 of the way up
- Secure the sign to the backdrop frame using zip ties through the back of the sign
- For flower wall backdrops, you can also weave fishing line through the flowers to hold the sign in place
- Use a level to make sure it's straight
- Step back and check that the sign pops against the backdrop — adjust if it blends in too much
Design tip: For maximum impact, place the sign on a solid-color section of the backdrop, not directly over busy floral patterns. Contrast makes the sign stand out.
Pro Installation Tips
1. Always Bring Spare Flowers
No matter how carefully you transport the sign, a few flowers might get squished or fall off. Bring a small bag of spare flower heads and a hot glue gun for quick on-site touch-ups. It takes 2 minutes and makes a huge difference in the final look.
2. Measure Twice, Install Once
Nothing looks worse than a crooked sign. Always use a level, always measure from multiple reference points, and always step back to check from a distance. What looks straight up close might be noticeably off from across the room.
3. Hide Your Hardware
Clients are paying for a beautiful, polished look — visible zip ties, fishing line knots, and hooks ruin the effect. Use clear fishing line for hanging, trim zip tie ends flush, and tuck hardware behind flowers or greenery. It's the little details that separate amateur from professional.
4. Consider Lighting
A flower sign in a dark corner gets lost. If the venue has dim lighting, add small LED strip lights or spotlights behind or above the sign. Uplighting from below creates a dramatic, elegant effect. Always test the lighting during setup, not after guests arrive.
5. Allow Enough Setup Time
Flower sign installation takes longer than you think — especially if it's your first time doing a particular setup. Budget 20-30 minutes for a simple freestanding sign, 45-60 minutes for wall mounting or hanging installations. Rushing leads to mistakes.
6. Take Setup Photos
After installation, take photos from multiple angles — straight on, from the side, and close-up details. These are great for your portfolio, social media, and showing clients what they're getting. Plus, if there's any damage during the event, you have before-photos for reference.
Teardown & Storage
Proper Teardown Process
- Inspect first: Before taking anything down, check for any damage or missing flowers. Note anything that needs repair.
- Remove carefully: Take down the sign slowly and carefully — don't yank or drop it. For wall-mounted signs, remove Command strips slowly at the correct angle to avoid wall damage.
- Clean as you go: Remove all zip ties, tape, and fishing line — don't leave any hardware on the sign.
- Touch up on site: If any flowers fell off during the event, do a quick repair before packing so you don't forget.
- Wrap for transport: Use the original packaging if possible. For large signs, wrap in bubble wrap or moving blankets to protect the flowers during transport.
- Store properly: Store upright in a cool, dry area. Never lay signs flat or stack heavy items on top — this crushes the flowers.
Storage tip: For rental businesses, label each sign clearly with size, color, and condition. Create a simple inventory checklist so you always know what's available and what needs repair.
Maintenance & Repairs
Regular Maintenance Checklist
- After each rental: Inspect for missing or loose flowers, touch up with hot glue, wipe down the frame, check hanging hardware
- Every 10 uses: Deep clean with compressed air or soft brush, check all attachment points, tighten any loose screws
- Every 20 uses: Replace worn-out flowers, refresh faded areas, check structural integrity of the frame
- Seasonally: Check for moisture damage (especially if used outdoors), treat with UV protectant spray if needed
Common repairs:
- Loose flowers: Reattach with hot glue — add a small dot of glue to the base and press firmly for 10 seconds
- Bent frame: Gently bend back into shape — metal frames can be adjusted, wooden frames may need replacement
- Faded colors: Touch up with floral spray paint (match the color carefully!) or replace individual flowers
- Damaged base: Reinforce with extra screws or brackets — stability is safety
Common Questions
Installation time depends on the method:
- Freestanding: 5-10 minutes (just place and level)
- Easel mounted: 10-15 minutes
- Wall mounted (Command strips): 15-20 minutes + 1 hour cure time
- Hanging/suspended: 30-45 minutes (more if ceiling is high)
- Backdrop integrated: 20-30 minutes
Always add 10-15 minutes buffer for unexpected issues. First-time installations always take longer than you expect.
Yes, with precautions:
- Wind: The biggest concern. Freestanding signs need weighted bases. Hanging signs need extra secure ties. Avoid using in winds over 15 mph.
- Rain: Most artificial flowers are water-resistant, but heavy rain can damage the frame and cause mold if not dried properly. Always dry thoroughly after outdoor use.
- Sun: UV rays cause fading over time. For frequent outdoor use, invest in UV-resistant flowers or apply UV protectant spray.
Best practice: Market flower signs as "indoor and covered outdoor" pieces. For fully outdoor events, recommend tent coverage and weighted bases.
Proper transport is key to keeping your signs looking new:
- Use the original packaging if you still have it — it's designed to protect the sign
- For large signs, wrap in moving blankets or bubble wrap, paying extra attention to the corners and edges
- Transport upright if possible — laying flat can crush the flowers
- Use a van or truck with enough space — don't try to squeeze a 5ft sign into a sedan
- Secure the sign so it doesn't shift during transport — use ratchet straps or bungee cords
- Bring a repair kit (spare flowers + hot glue gun) to every event — just in case
Damage-free hanging options, from strongest to gentlest:
- Heavy-duty Command strips: Holds up to 16 lbs per pair. Best for smooth surfaces like painted drywall, glass, and tile. Follow the instructions carefully — press firmly for 30 seconds and wait 1 hour before hanging.
- Command hooks: Easier to remove than strips. Various weight capacities available.
- Removable mounting putty: Best for very light signs (under 2 lbs). Gentle on all surfaces.
- Over-the-door hooks: No adhesive needed — just hook over the top of the door.
Always test a small, hidden area first to make sure the adhesive won't damage the paint or finish. When removing, pull slowly at the correct angle (straight down, not out).
Depends on the size and installation method:
- Small signs (under 3ft): 1 person can handle it easily
- Medium signs (3-4ft): 1 person for freestanding or easel, 2 people for hanging or wall mounting
- Large signs (5ft+): 2 people minimum — one to hold the sign, one to secure it. For ceiling installations, you might need a third person on the ladder.
For rental businesses, we recommend always sending 2 people for flower sign installations. It's faster, safer, and reduces the chance of damage during setup.
Ready to Add Flower Signs to Your Rental Inventory?
Our commercial-grade flower letter signs come in sizes from 1ft to 7ft, with 20+ color options and custom designs available. Sturdy frames, dense flower coverage, and easy installation hardware included. MOQ as low as 1 piece for standard designs.
Get Wholesale Pricing