Why Setup Is Easier Than You Think
One of the most common questions first-time buyers ask is: "How hard is it to set up?" The short answer: not hard at all. Commercial-grade flower arches are designed for fast tool-free assembly — two people can have a fully decorated arch ready in under 10 minutes.
This guide walks you through the entire process, from unboxing to final adjustments, plus pro tips for outdoor events and proper storage to extend the life of your investment.
Whether you're a rental business setting up at a venue, a planner doing a walkthrough, or a venue owner training your staff, these steps work for round, hexagonal, and square flower arches.
What You'll Need Before You Start
Good prep cuts setup time in half. Here's everything you need:
Required & Optional Supplies
People: 2 people (one holds the frame while the other attaches pieces)
Time: 10-15 minutes total (first setup might take 20 minutes until you're familiar)
Tools: None required for standard assembly — all parts are screw-together or push-fit
Optional extras for outdoor setups:
- Sandbags or weight plates (for windy days)
- Zip ties (for extra securing)
- Rubber mallet (gentle tapping if joints are tight)
- Step stool or small ladder (for tall arches)
Step-by-Step Assembly Guide
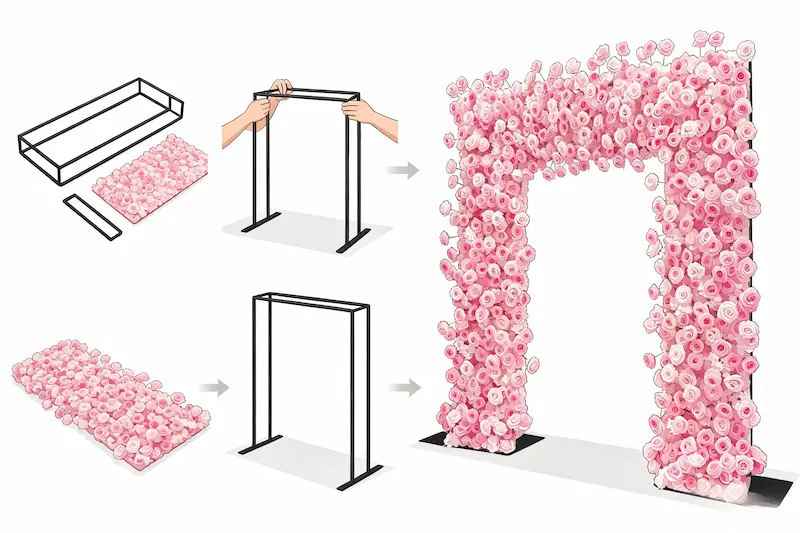
Unbox and Lay Out All Parts
Start by laying everything on the ground near where you'll be setting up. Separate frame pieces, floral sections, and hardware bags so you can see what you're working with.
Connect the Base Legs
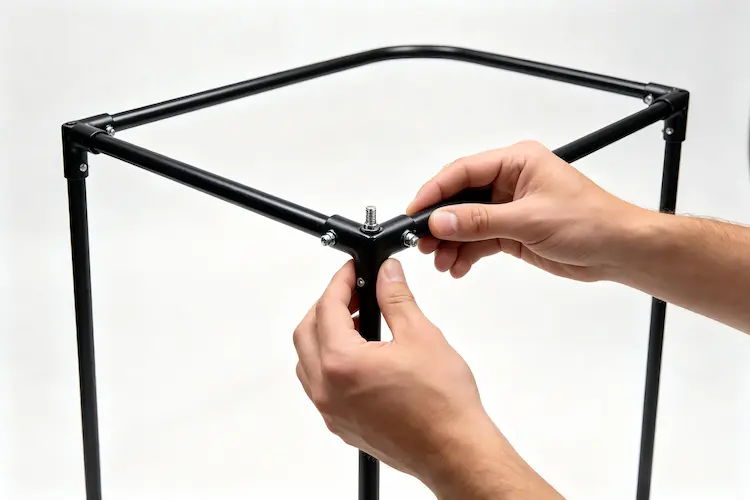
Attach the two bottom leg pieces first. These form the stable foundation. For round and hexagon arches, the legs are the two straight pieces at the bottom. For square arches, connect the four corner pieces starting with the bottom bar.
Make sure each joint clicks or screws in fully — wobbly connections cause problems later.
Build the Top Curve
Working from both sides upward, attach the curved frame pieces one section at a time. Have one person hold the assembled side while the other adds the next piece. This prevents the frame from tipping over as it gets taller.
Stand the Frame Up
Once the full frame is assembled on the ground, carefully lift it into standing position. Two people lift from opposite sides at the same time. Set it down gently and make sure it's level and stable before adding flowers.
Attach the Floral Sections
This is the fastest part. Most commercial flower arches come with pre-made floral panels that clip or tie onto the frame. Start from the top center and work your way down both sides evenly.
Adjust as you go — make sure flowers are facing forward and there are no gaps showing the frame underneath.
Final Adjustments & Check
Step back and look at the arch from a distance. Check:
- Is it standing straight?
- Are flowers evenly distributed?
- Are all clips and ties hidden from view?
- Does it wobble when you gently push it?
Make any small tweaks now, before guests arrive.
Shape-Specific Differences
The basic process is the same for all shapes, but there are a few small differences to know:
Average setup: 8-10 min
Average setup: 10-12 min
Average setup: 6-8 min
Average setup: 12-15 min
Outdoor Setup: Securing Against Wind
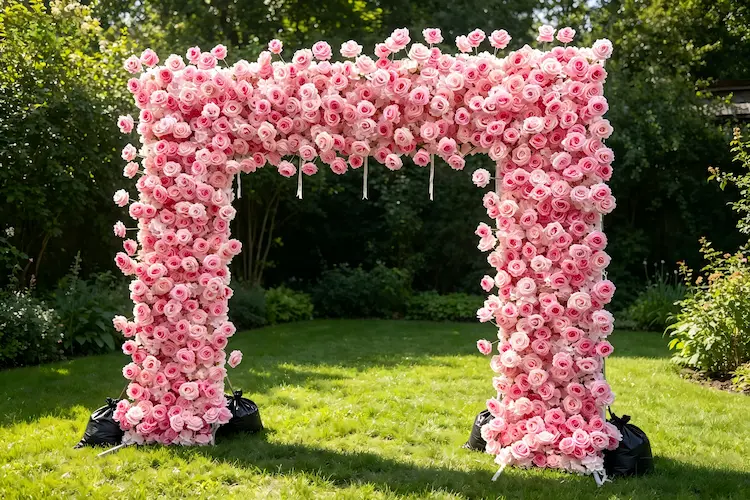
Indoor setups are straightforward — just assemble and you're done. Outdoor events need extra attention because wind is the #1 cause of arch accidents.
Basic Wind Protection (under 10 mph)
- Place sandbags over each base leg, hidden behind floral greenery
- Position the arch with its back to the prevailing wind direction
Medium Wind Protection (10-20 mph)
- Add 10-15 lb weights on each leg
- Use zip ties to connect the arch frame to nearby stable objects (tent poles, fence posts)
- Consider angling the arch slightly instead of facing the wind head-on
Teardown & Storage Best Practices
How you take down and store your arch determines how long it lasts. Do it right, and a commercial flower arch can last 3-5 years with 50+ uses.
Teardown Steps (Reverse Order)
- Remove floral sections first, starting from the bottom
- Disassemble the frame piece by piece
- Wipe down metal frame with a dry cloth (no water — prevents rust)
- Check all floral sections for damage or loose flowers
- Repack everything in original packaging or storage bags
Storage Rules
- Store in a cool, dry place — extreme heat can warp plastic flower petals
- Keep floral sections flat or hanging, never crushed under heavy items
- Keep frame pieces organized so you don't lose small connectors
- Do a quick inspection before each rental to catch damage early
Ready to Add Flower Arches to Your Inventory?
Commercial-grade arches pay for themselves in 1-3 rentals. Request samples to test quality and assembly speed before you buy in bulk.
Request Free Samples